AVG AntiVirus and AVG Internet Security provide a range of scans to protect your Mac from malware and network threats. You can also create your own scheduled scans. The following virus scans are available:
- Smart Scan: quickly scans the most vulnerable areas of your Mac.
- Deep Scan: performs an in-depth scan of your system, including checking your storage drives and memory for malware.
- Targeted Scan: scans specific files or folders on your Mac.
- USB / DVD Scan: scans any removable storage devices connected to your Mac.
- Scheduled scans: allows you to create a scan and set your own scan parameters, including configuring your scheduled scans to run regularly and automatically.
This article explains how to run a scan, process the scan results, set up a scheduled scan, and manage settings for all scans.
Run a scan
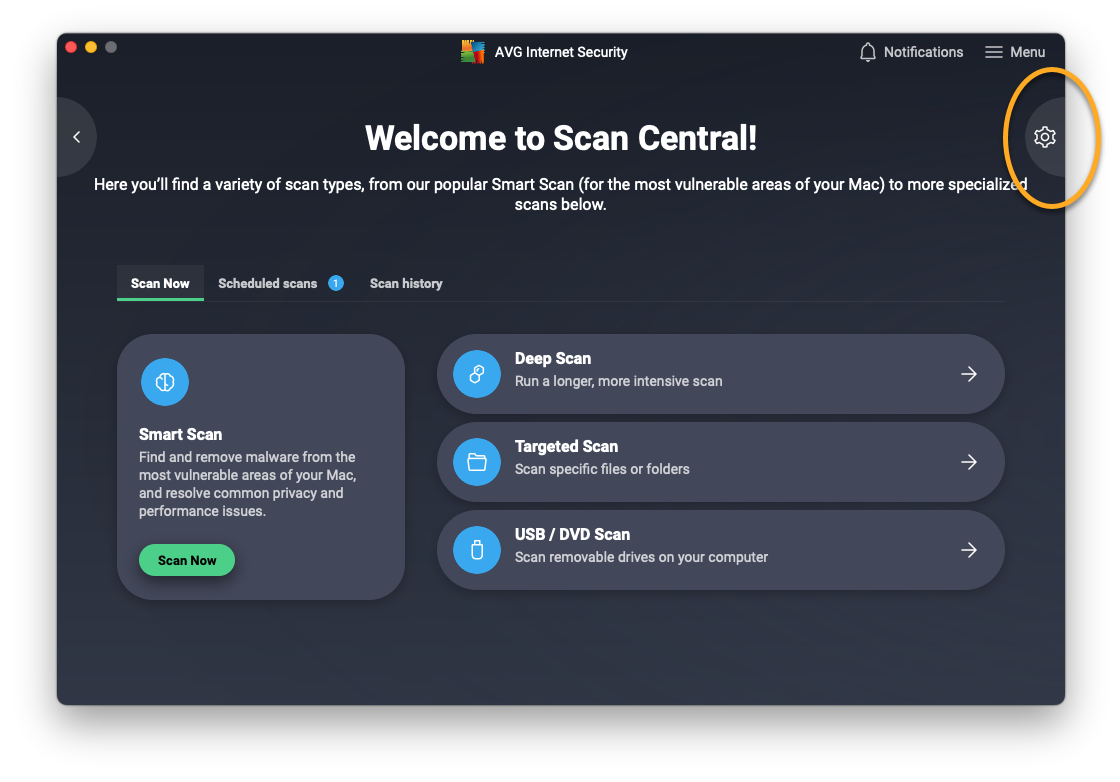
You can run any scan from the Scan Central screen. Follow the steps below to open Scan Central and run a scan:
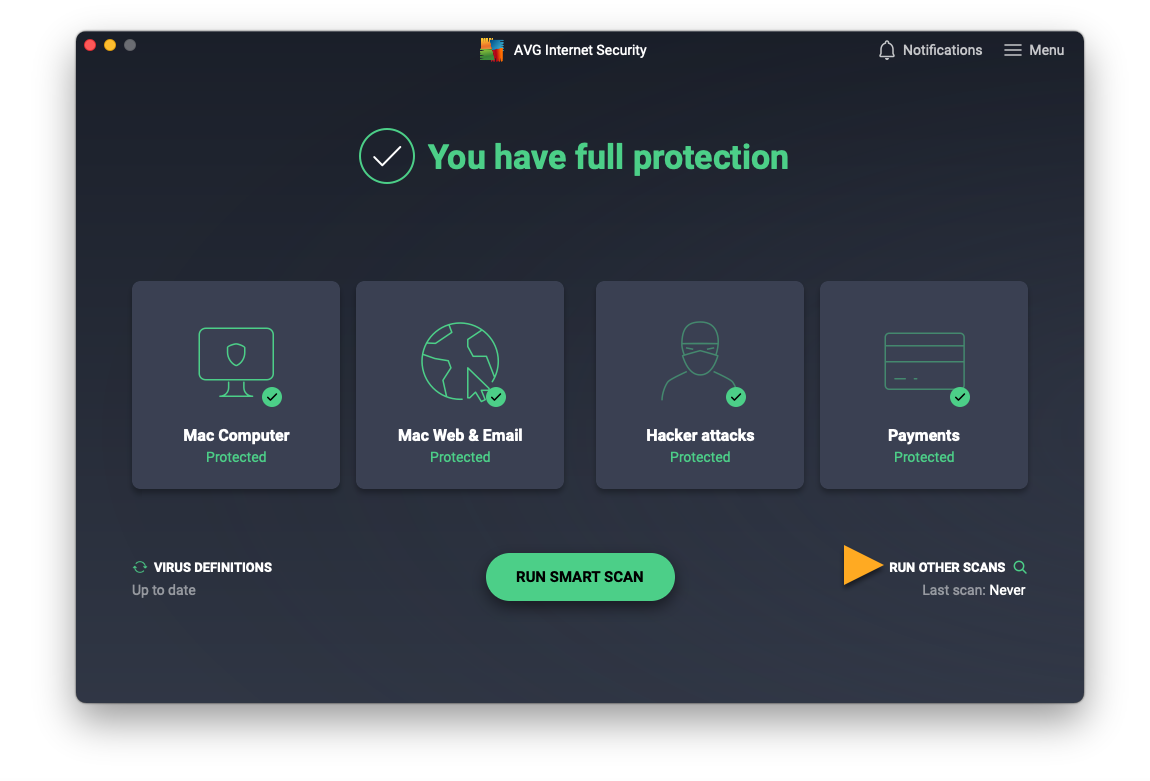
- Open AVG AntiVirus and click Run other scans.

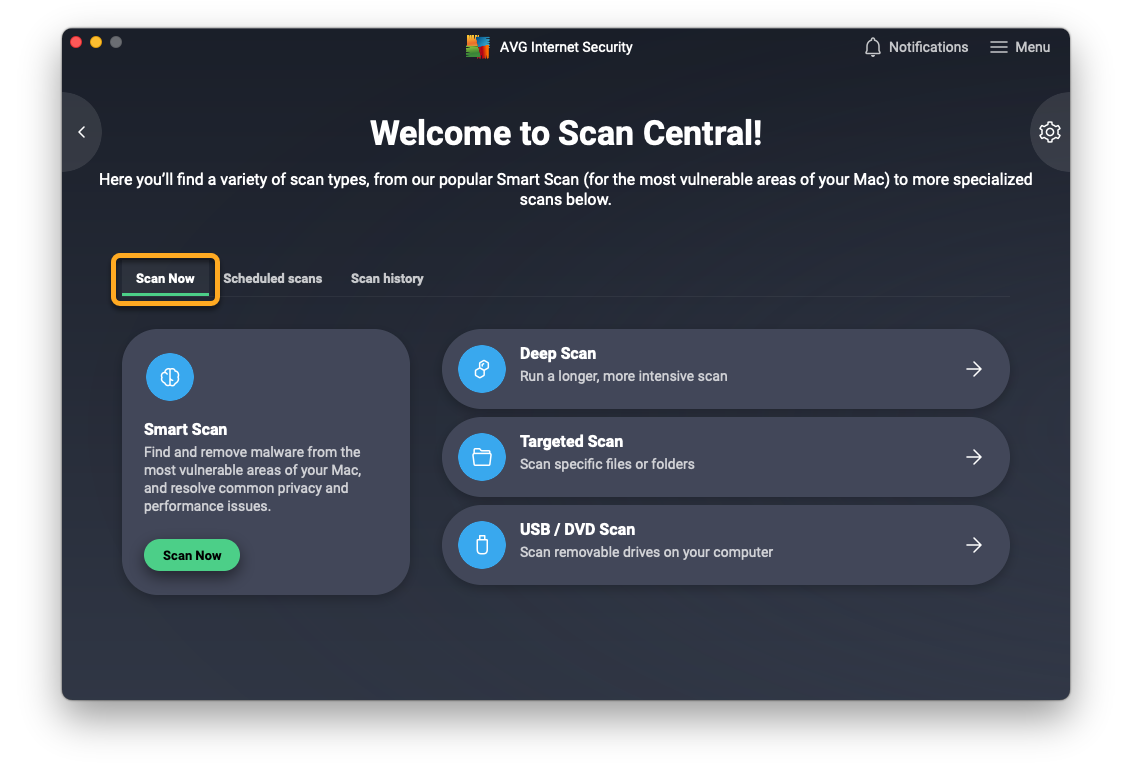
- Ensure the Scan Now tab is selected.
- To start your preferred scan:
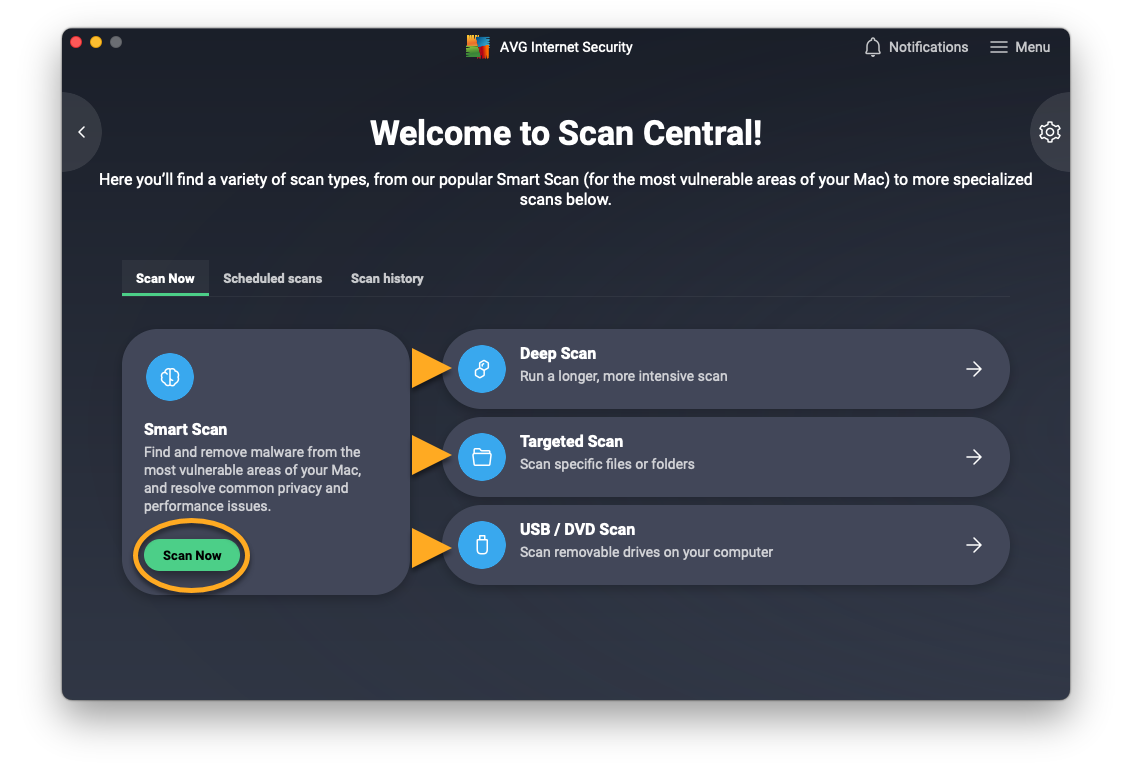
- Smart Scan: Click Scan Now.
- Deep Scan: Click the Deep Scan panel.
- Targeted Scan: Click the Targeted Scan panel, then select the files or folders you want to scan, and click Open.
- USB / DVD Scan: Click the USB / DVD Scan, then select the removable drives you want to scan, and click Start.
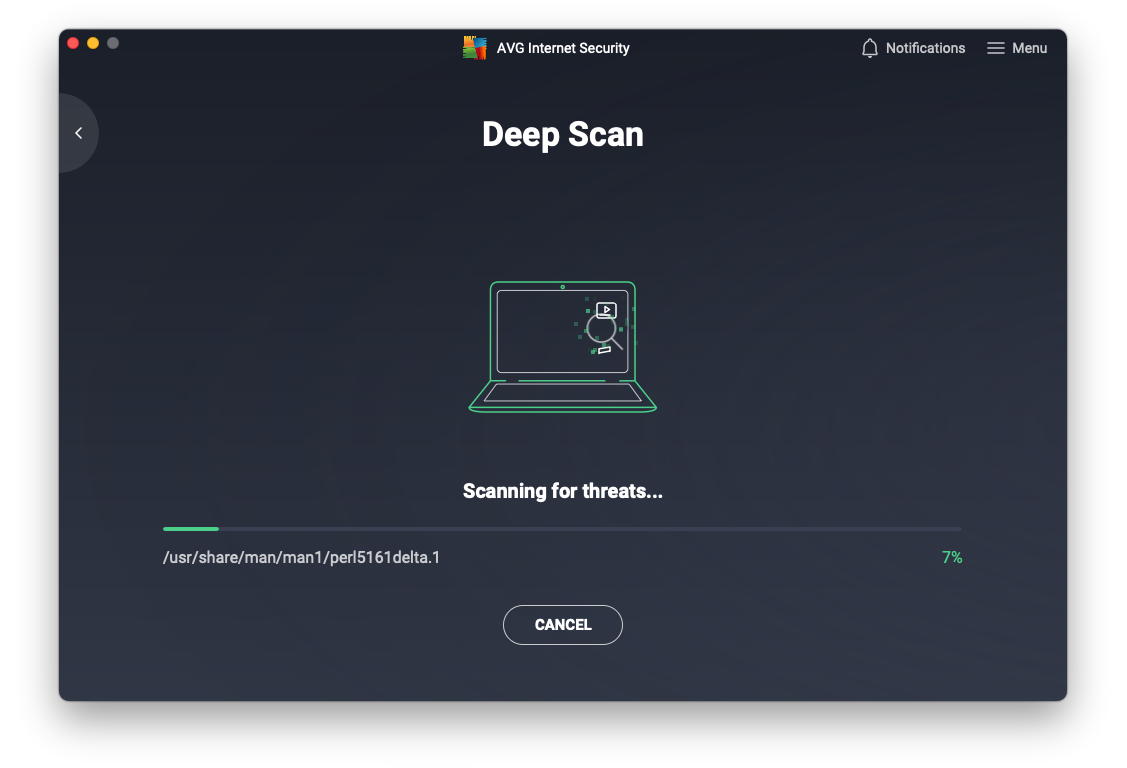
- A progress screen appears while AVG performs the scan.
The progress screen does not appear when you run a scheduled scan.
Deep Scan may take several minutes or more to complete, depending on the number of files and the performance of your system.
When the scan completes, refer to the section below to learn how to process the scan results.
Process scan results
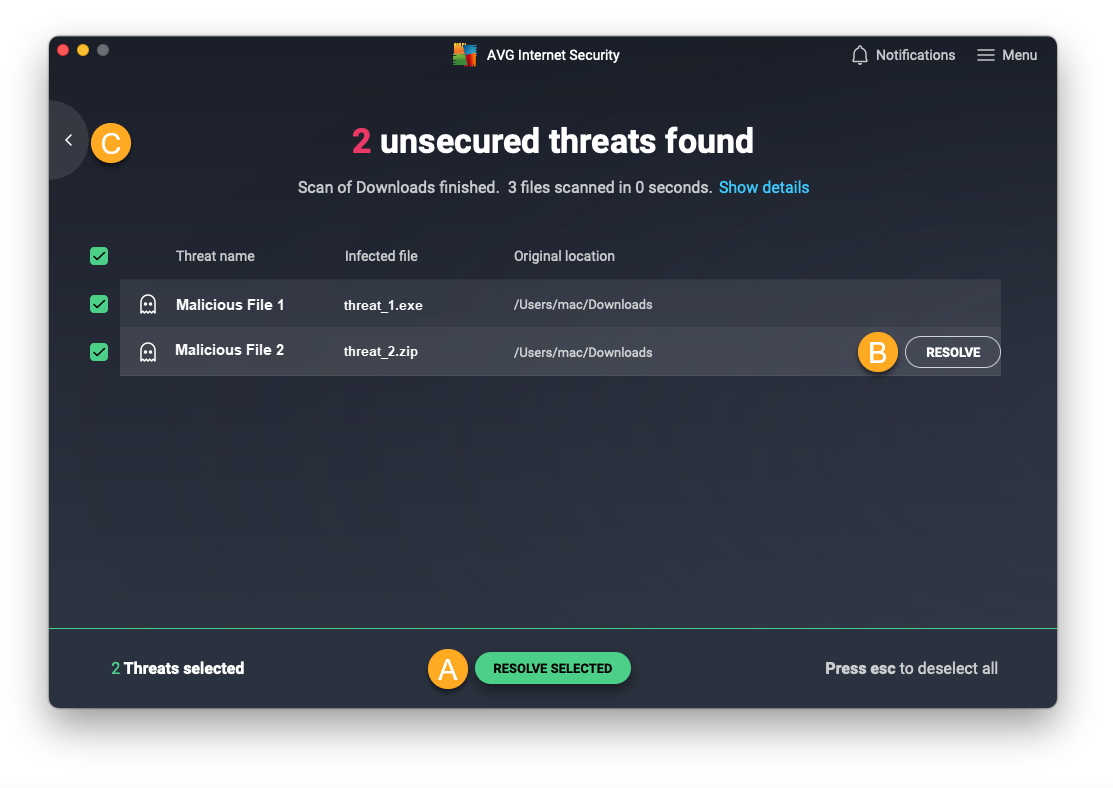
After you run a virus scan, details of any detected threats are displayed on the screen. To process your scan results, we recommend moving detected files to Quarantine:
- Select from the following options:
- Move all files to Quarantine: ensure that the box next to each threat is ticked, then click Resolve selected.
- Move individual files to Quarantine: hover your cursor over a listed threat, then click Resolve.
- Ignore detected threats: click the back arrow, then select Ignore to return to the Scan Central screen.
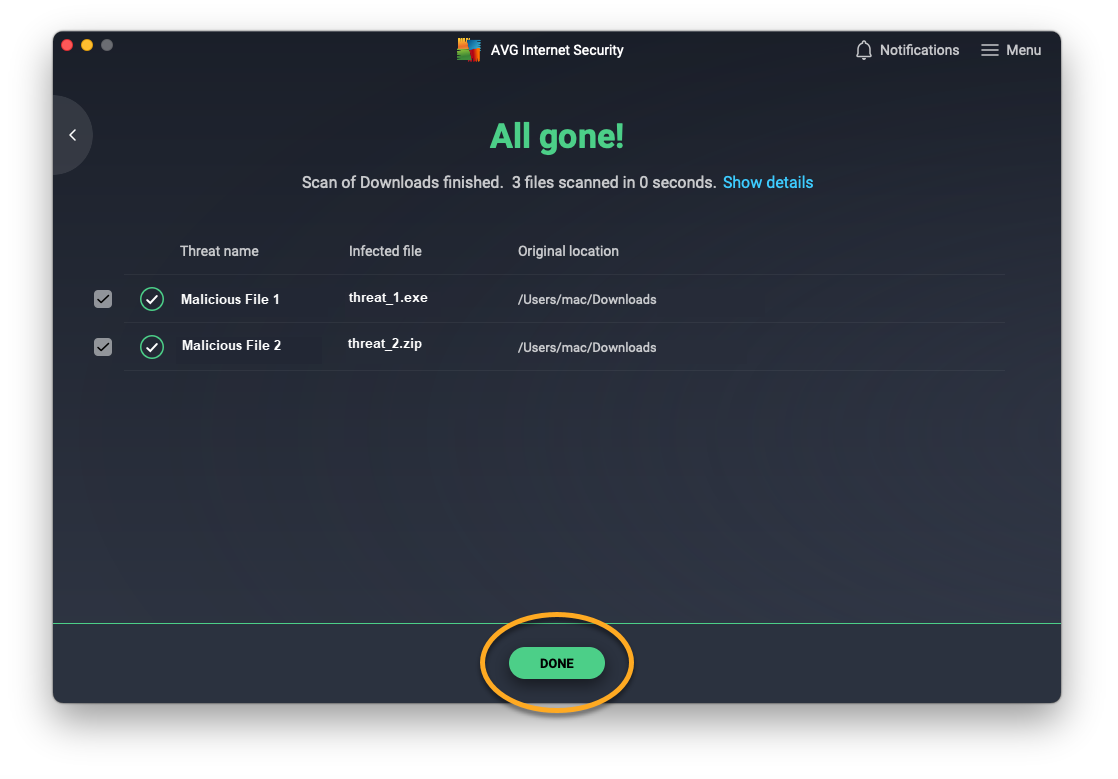
- After resolving the detected threats, or if no threats are found, click Done to return to the Scan Central screen.
To learn more about Quarantine, refer to the following article:
Schedule a scan
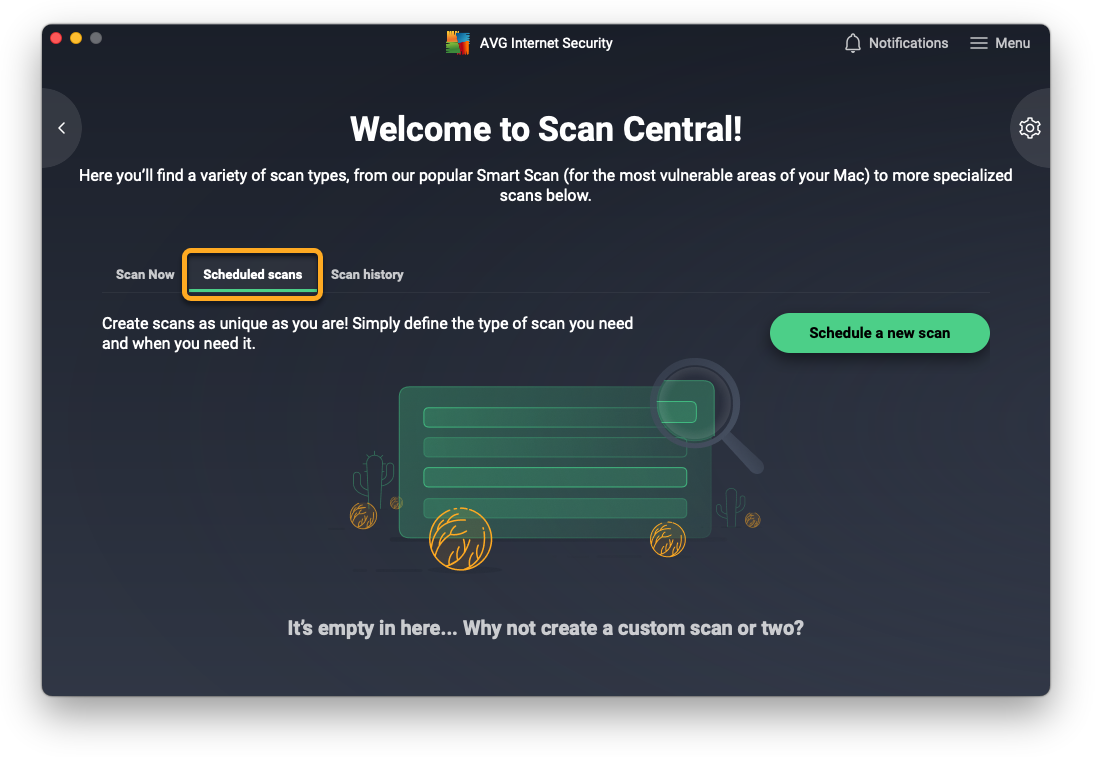
Scheduled scans allow you to create and schedule your own scans to run regularly and automatically. To create a scheduled scan:
- Click the Scheduled scans tab.
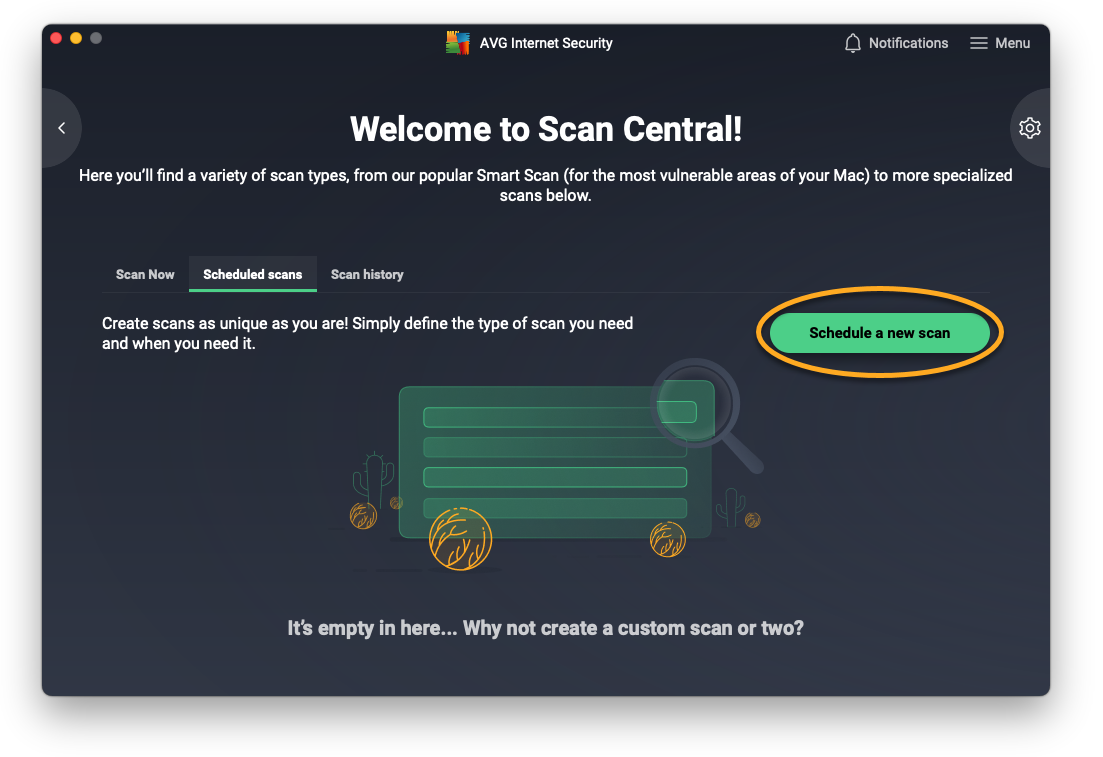
- Click Schedule a new scan.
- Enter a Scan name, then use the drop-down menus to select Type of scan and Frequency. You can select from the following options:
- Type of scan: Targeted Scan, Deep Scan, or Smart Scan.
- Frequency: Once, daily, weekly, or monthly.
- If you selected Targeted Scan, click Choose folder, then select the folder you want to scan, and click Open.
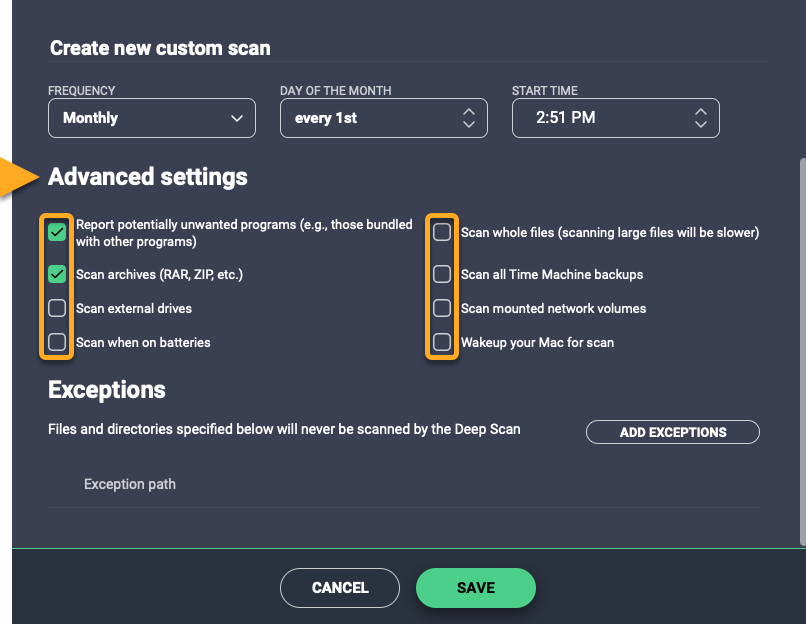
- Review the Advanced settings list and tick or untick the box next to each setting to specify your preferred options:
- Report potentially unwanted programs: scans for and notifies you about programs that are stealthily downloaded with other programs and typically perform unwanted activity.
- Scan archives: analyzes all archive files, such as .zip, .rar, and other executable or installer archives. This significantly increases the scan duration.
- Scan external drives: scans any external drives connected to your Mac at the time of the scan.
- Scan when on batteries: the scheduled scan runs even if your Mac is not plugged in.
- Scan whole files: scans entire files rather than only the parts typically affected by malicious code.
- Scan all Time Machine backups: scans all backups saved in Time Machine. Time Machine is the built-in backup feature on your Mac.
The external storage device used for your Time Machine backups needs to be connected to your Mac when the scheduled scan runs.
- Scan mounted network volumes: scans files that are shared via a network protocol.
- Wake up your Mac for scan: the scheduled scan runs even if your Mac is in sleep mode. If necessary, AVG wakes up your Mac to run the scheduled scan.
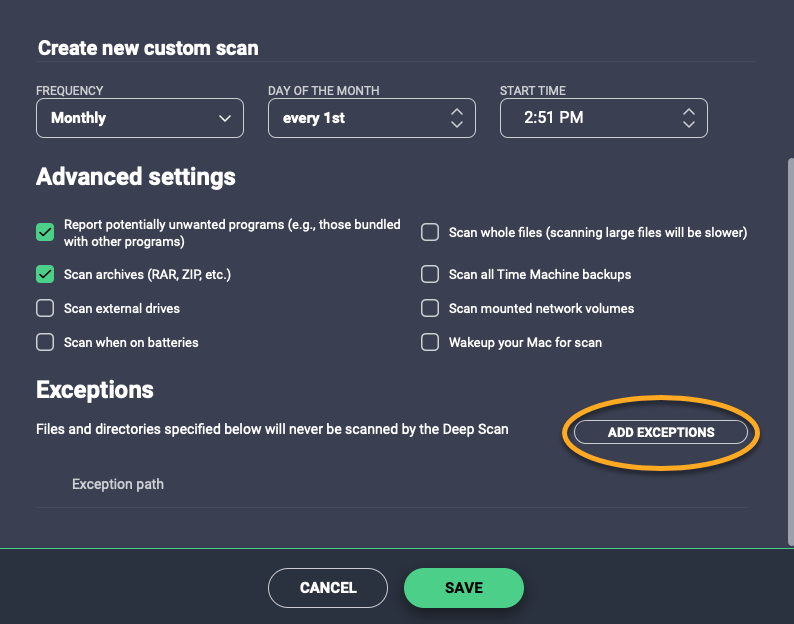
- If you want to exclude any files or folders from the scan, click Add exceptions, then select the relevant file or folder, and click Open.
- Click Save.


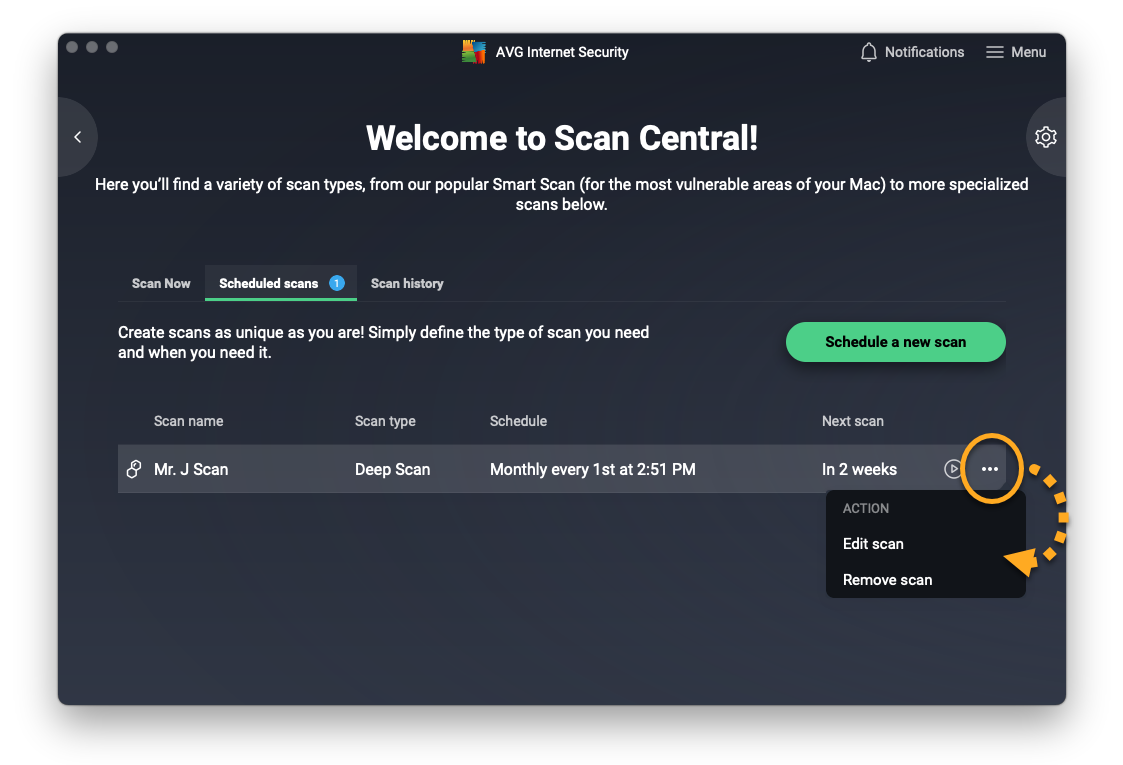
Your scheduled scan is set up and appears in the Scheduled scans list.
To edit or delete the scan, hover your cursor over the scan details and click … More options (three dots), then select Edit scan or Remove scan.
Manage scan settings
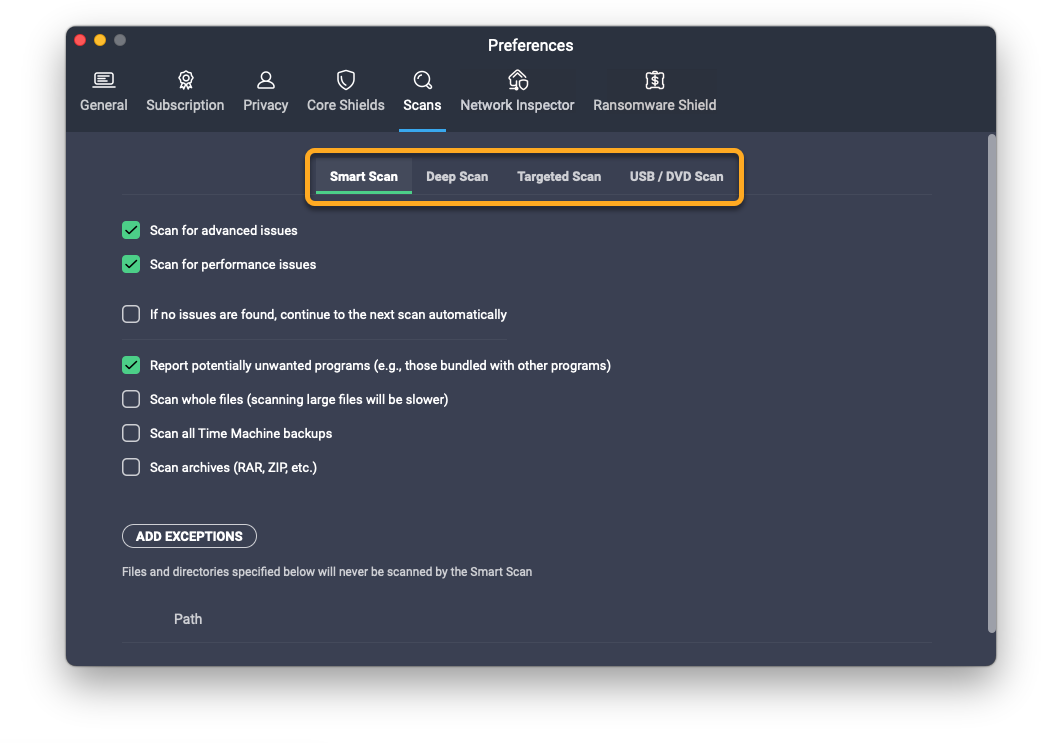
To access settings for predefined scans:
- Click Preferences (the gear icon) on the Scan Central screen.
- Select the relevant scan tab.
- Tick or untick the box next to each setting to specify your preferred options:
Some of the settings listed below are not available for every scan.
- Scan for advanced issues: allows Smart Scan to check for potential security issues relating to premium application features. If you use the free version of the application, you will be prompted to purchase a paid AVG Internet Security subscription before resolving any detected issues.
- Scan for performance issues: allows Smart Scan to check for files that could be removed using AVG TuneUp Premium to free up disk space. If AVG TuneUp Premium is not already installed and activated on your Mac, you will be prompted to purchase a paid AVG TuneUp Premium subscription before resolving any detected issues.
- If no issues are found, continue to the next scan automatically: allows Smart Scan to move you to the next stage of the scan automatically when no issues are detected, so you don't need to manually click Next.
- Report potentially unwanted programs: scans for and notifies you about programs that are stealthily downloaded with other programs and typically perform unwanted activity.
- Scan whole files: scans entire files rather than only the parts typically affected by malicious code.
- Scan all Time Machine backups: scans all backups saved in Time Machine. Time Machine is the built-in backup feature on your Mac.
The external storage device used for your Time Machine backups needs to be connected to your Mac when the scan runs.
- Scan archives: analyzes all archive files, such as .zip, .rar, and other executable or installer archives. This significantly increases the scan duration.
- Scan external drives: scans any external drives connected to your Mac at the time of the scan.
- Offer to scan external drives: asks if you want to include external drives that are connected to your Mac at the time of the scan.
- Scan mounted network volumes: scans files that are shared via a network protocol.
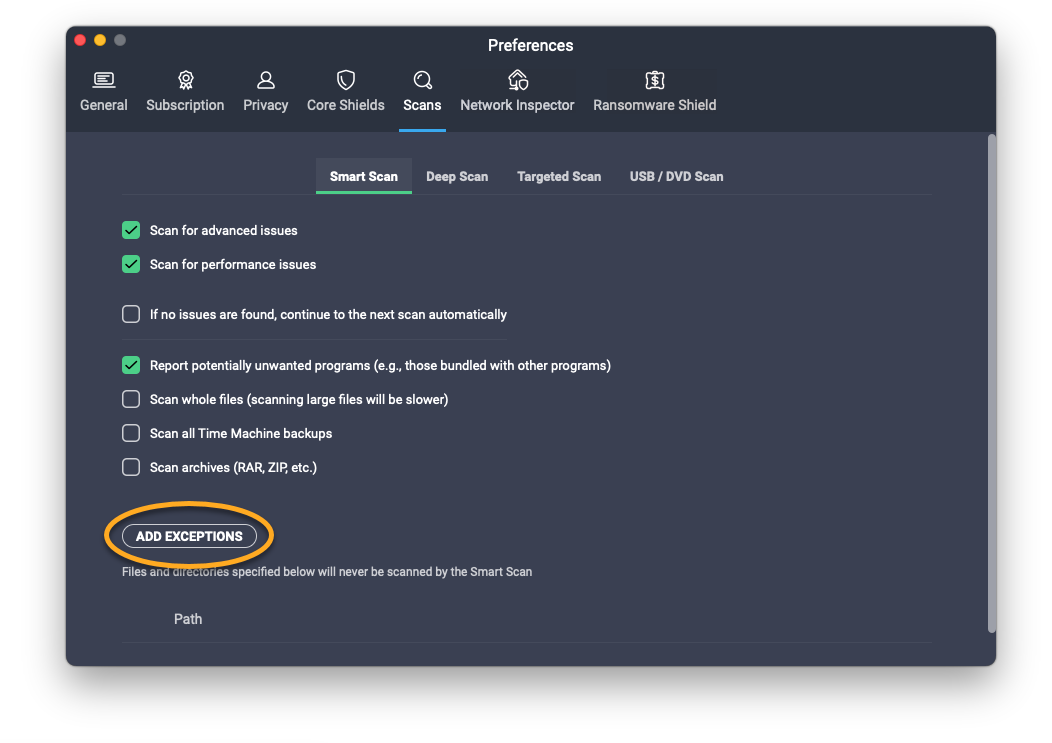
- To exclude a file or folder from a scan, click Add exceptions, then select the relevant file or folder, and click Open.
Your scan settings are now updated.
- AVG AntiVirus 20.x for Mac
- AVG Internet Security 20.x for Mac
- Apple macOS 11.x (Big Sur)
- Apple macOS 10.15.x (Catalina)
- Apple macOS 10.14.x (Mojave)
- Apple macOS 10.13.x (High Sierra)
- Apple macOS 10.12.x (Sierra)
- Apple Mac OS X 10.11.x (El Capitan)